
How to Design a White Hydrangea Border
Garden Design
How to Design a White Hydrangea Border
Spacing, structure and a timeless planting layout
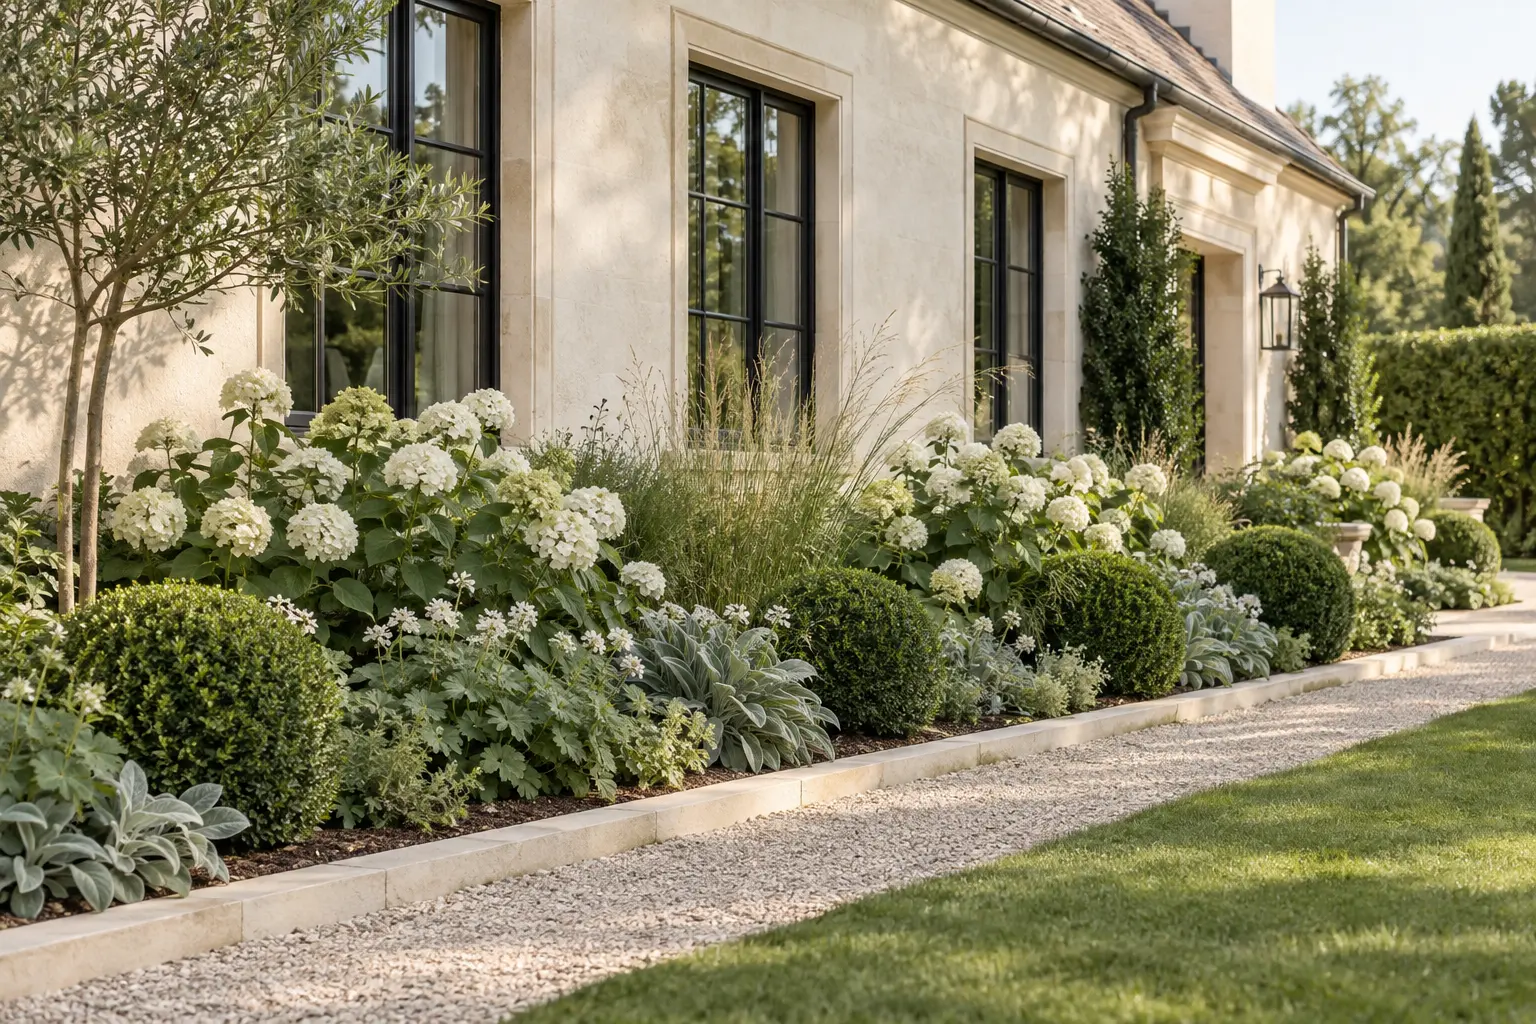
A white hydrangea border has an effortless beauty when it is thoughtfully planned. The generous flowers bring softness, while clipped evergreens, layered foliage and a defined stone edge give the garden structure. Yet hydrangeas alone do not automatically create a successful border. The finished garden depends on choosing a variety that suits the space, allowing enough room for every shrub to mature and arranging the planting in clear layers.
Before You Buy a Single Plant
Begin by Understanding Your Space
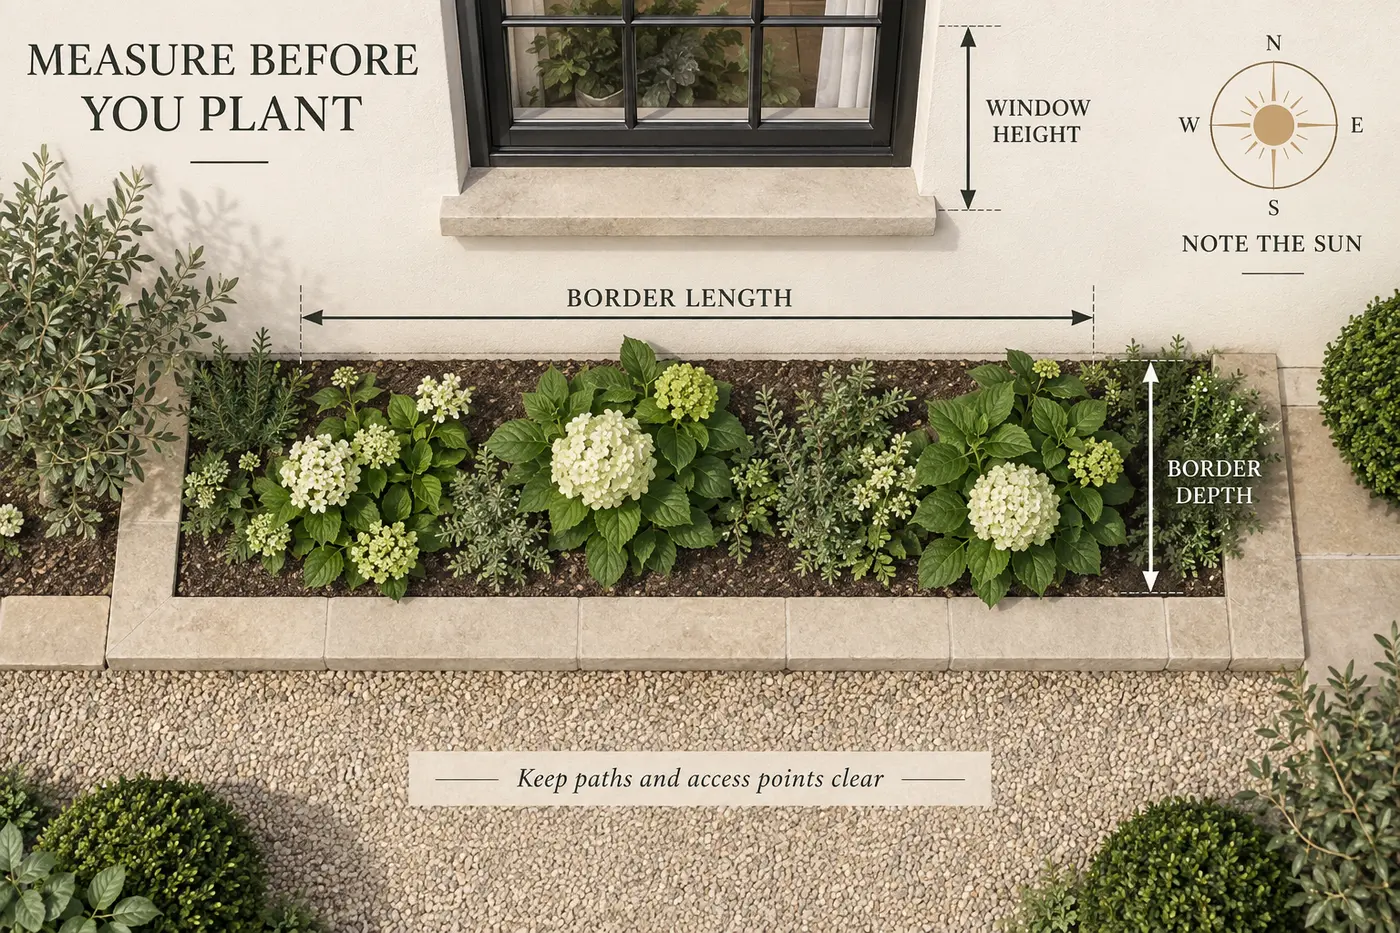
For a beginner gardener, the easiest way to avoid expensive mistakes is to measure the border before visiting the garden centre. Record the total length, the depth from the house or fence to the front edge, the hours of direct sunlight and whether water drains freely after rain.
Also note windows, doors, utility boxes, downspouts and pathways. Plants should frame these features without eventually covering them.
Match the Plant to the Place
A Quick Light Check
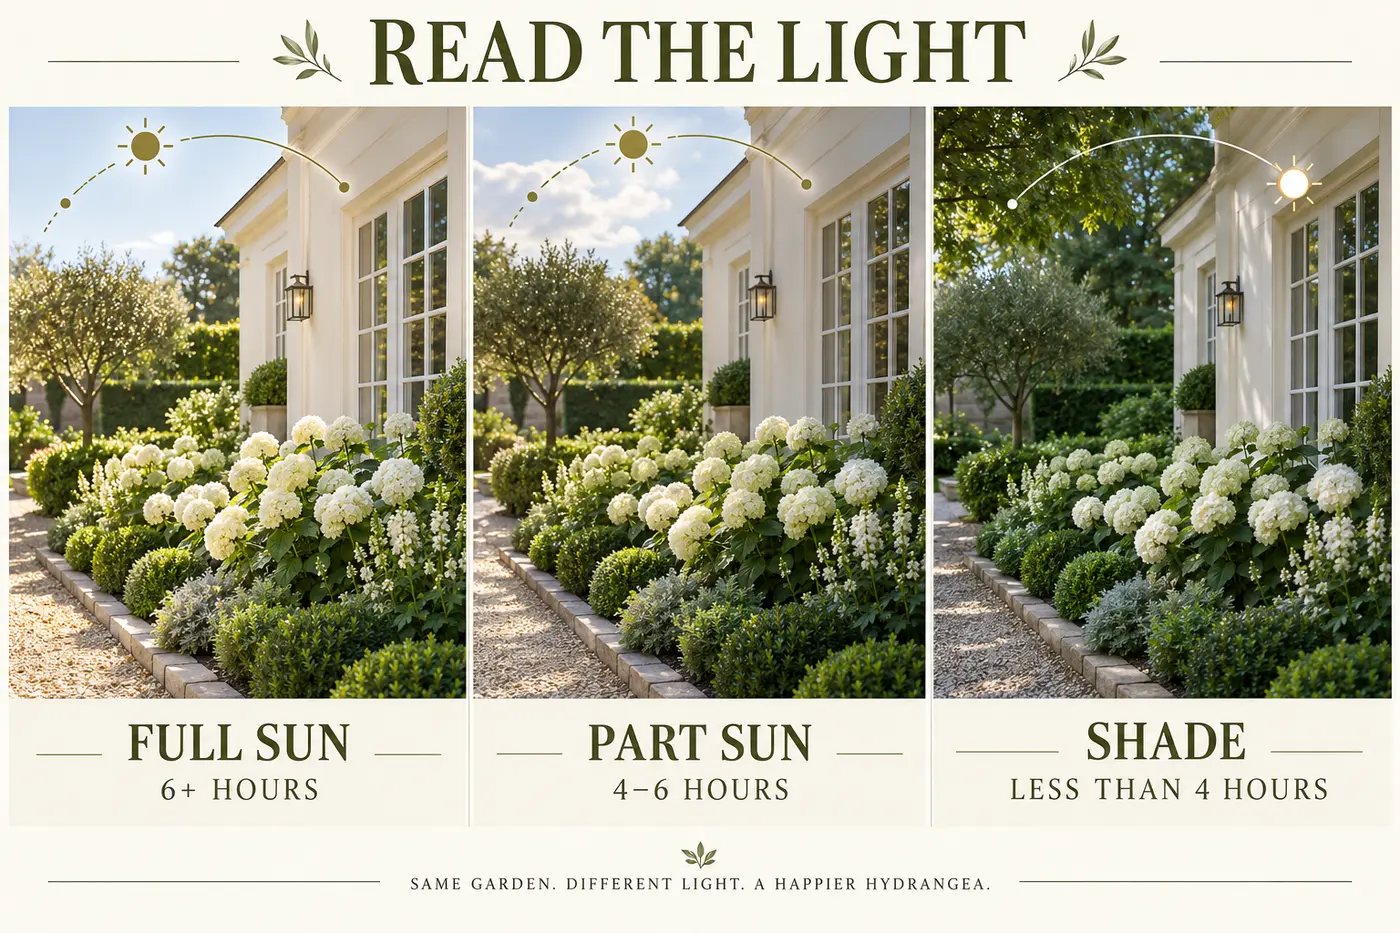
Observe the border at several points during a clear day. Full sun generally means six or more hours of direct sunlight. Part sun or part shade receives approximately four to six hours. Shade receives fewer than four hours of direct light.
Morning sun with afternoon protection is especially helpful in warmer climates. Panicle hydrangeas generally tolerate more sun than many smooth or bigleaf types, but all newly planted hydrangeas need reliable moisture while their roots become established.
Choose the Anchor First
Choose the Hydrangea Before the Companion Plants
The hydrangea is the largest flowering plant in this design, so choose it first. If the main shrub is too large for the border, no amount of careful underplanting will correct the proportions.
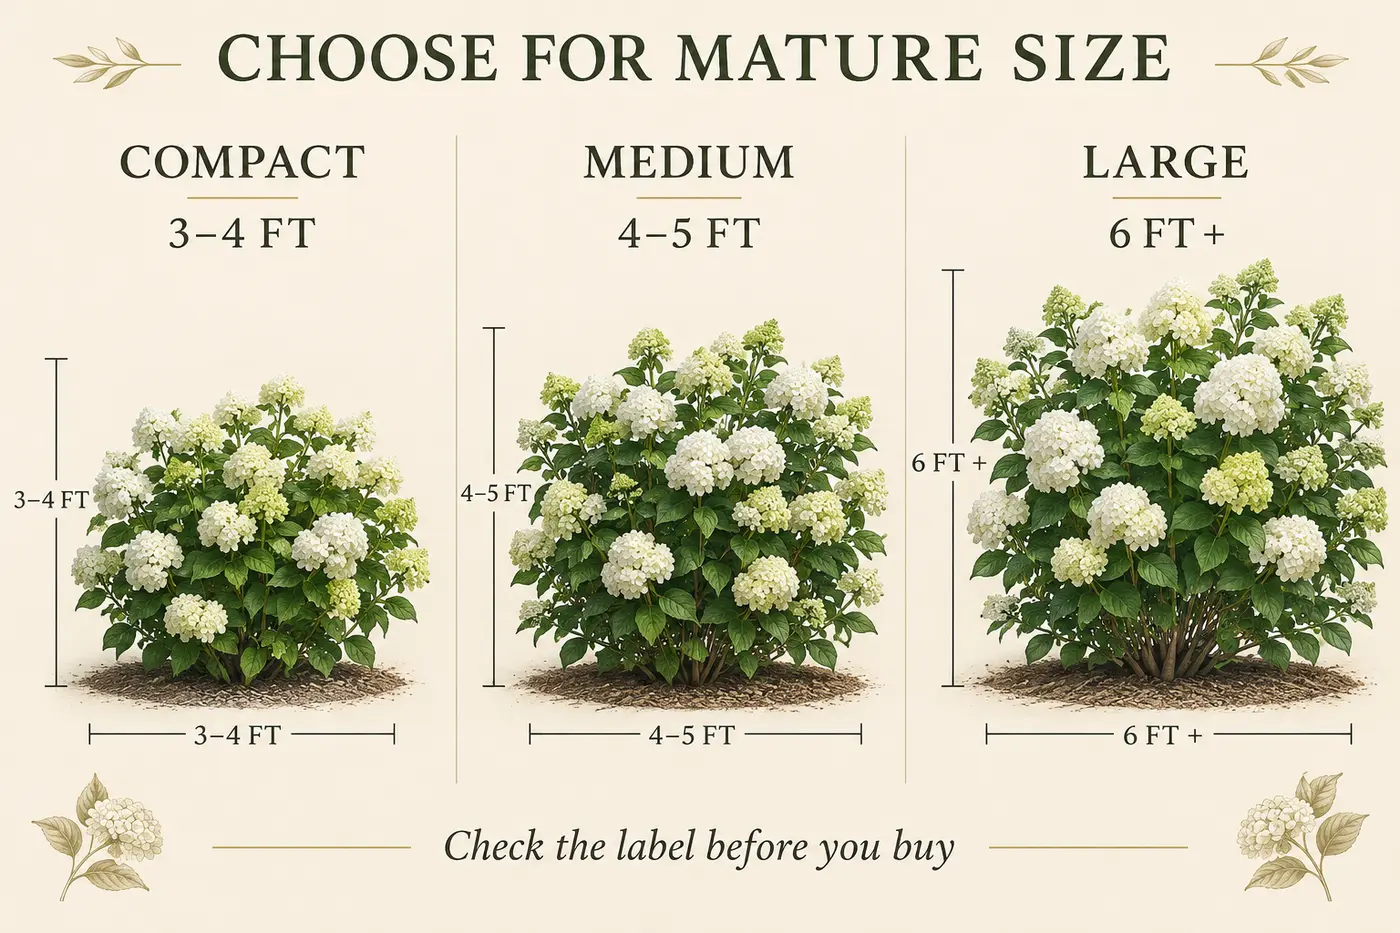
A young hydrangea in a nursery pot can look deceptively small. Many varieties eventually become four, five or even six feet wide. The mature width on the plant label is more important than the current size of the pot.
Plan for the Mature Garden
Space Hydrangeas for Their Full Size
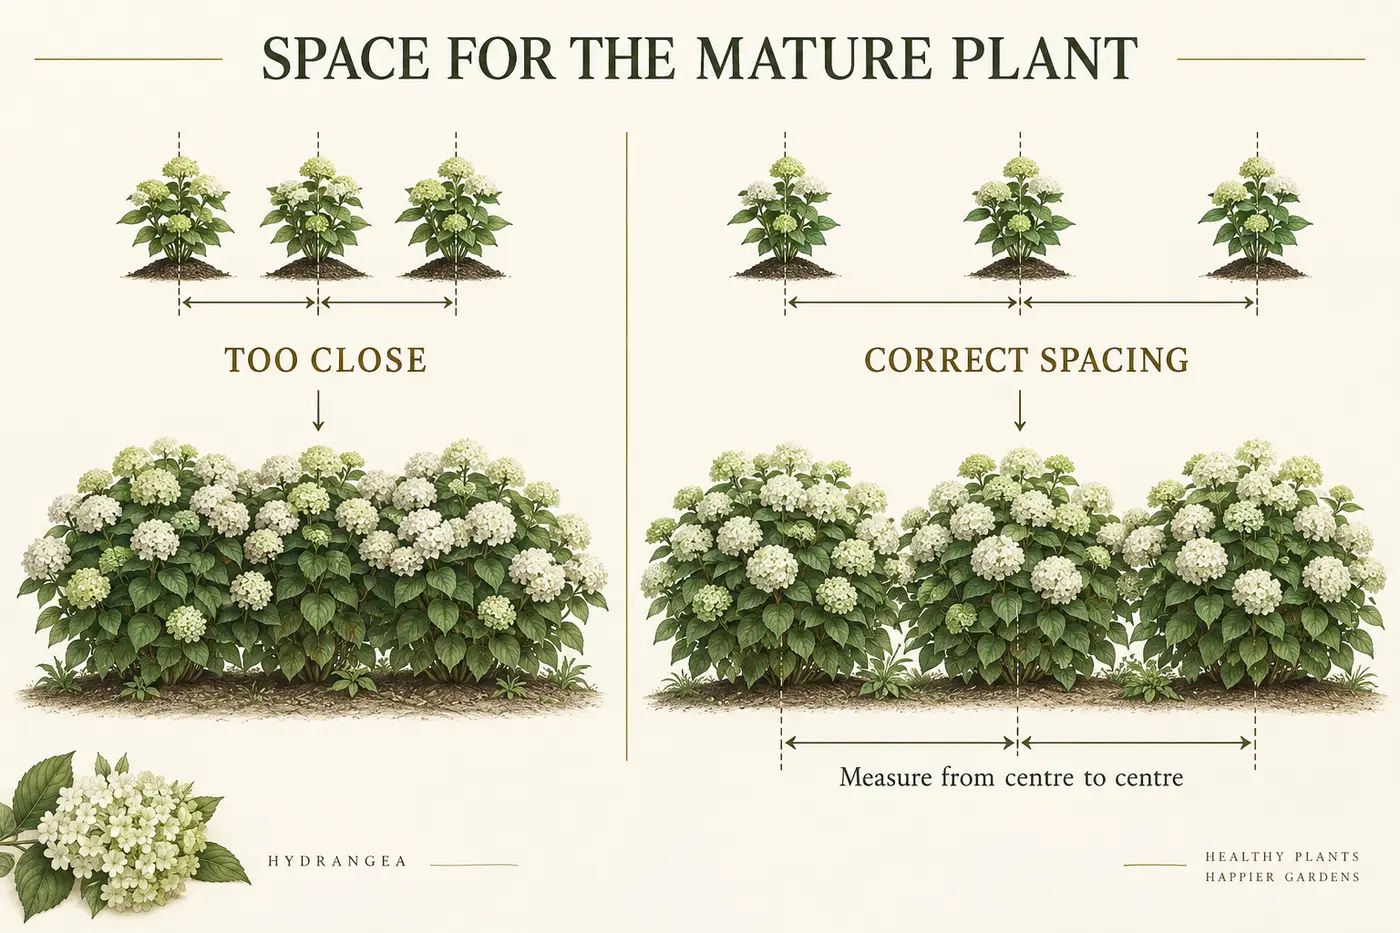
Hydrangea spacing is measured from the centre of one plant to the centre of the next. If a hydrangea is expected to become five feet wide, begin with approximately five feet between its centre point and the centre of the neighbouring shrub.
Newly planted hydrangeas may look small and slightly isolated. This is normal. Planting them close together for immediate impact often produces compressed shrubs, reduced air movement and more frequent pruning within only a few seasons.
- Use the mature width printed on the label.
- Measure from the centre of each nursery pot.
- Allow extra room in humid or low-airflow locations.
- Use mulch to make temporary spaces look intentional.
Leave Room Between Hydrangeas and the House
Hydrangeas should not be planted directly against a wall. Begin with half of the shrub’s expected mature width, then add enough access space for air movement and maintenance.
For example, a shrub expected to become five feet wide may extend approximately two and a half feet in every direction from its centre. Positioning that centre only two feet from the house would eventually press the branches against the wall.
When planting beneath a window, select a cultivar whose mature height will remain comfortably below the sill. Repeated heavy pruning is not a good substitute for choosing the correct mature size.
The Designer’s Framework
Build the Border in Three Layers
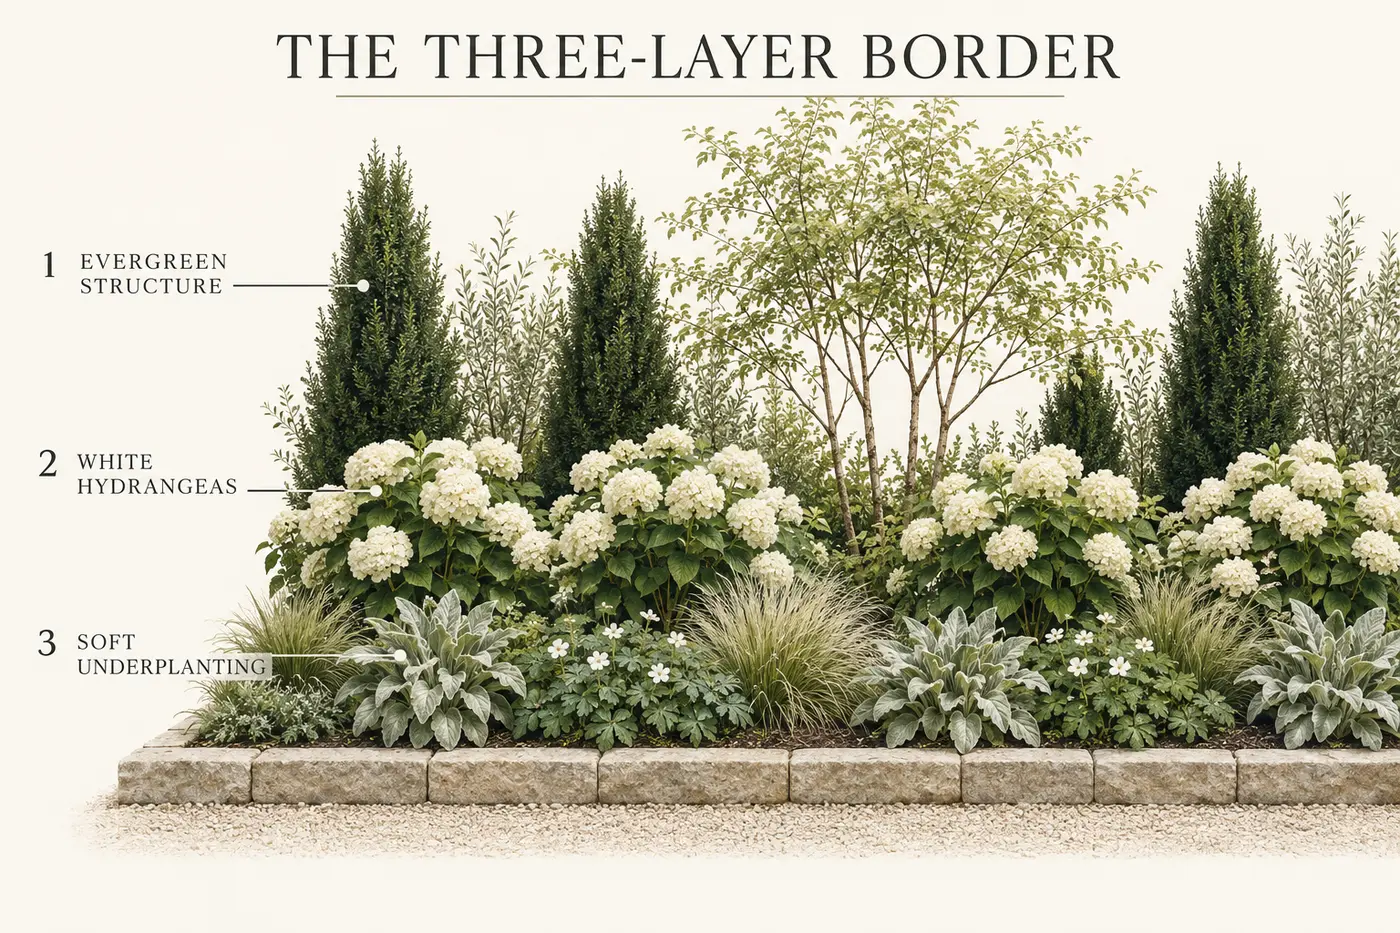
A well-designed border is easier to understand when it is divided into three depth layers. The structure belongs at the back or at important anchor points. Hydrangeas form the generous middle layer. Lower perennials and grasses soften the front.
Layer One: Year-Round Structure
Begin with the plants that will remain visible in winter. Depending on the garden, these might include compact boxwood, inkberry holly, yew, upright evergreen forms or a small ornamental tree.
The structural plants should act as punctuation marks rather than forming an unbroken wall. Use them at the ends of the border, beside an entrance, near a change in direction or in small repeated groups.
Layer Two: White Hydrangeas
For the calmest result, repeat one hydrangea variety. In a longer border, use matching hydrangeas in groups of three or five. In a short border, two or three shrubs may be enough.
Combining many white varieties can still look disjointed because their bloom shapes, flowering times, leaf textures, mature sizes and pruning requirements may differ.
Layer Three: Soft Underplanting
The lowest layer should soften the base of the shrubs without overwhelming them. In partial shade, consider hardy geranium, heuchera, Japanese forest grass, ferns or low sedges. In sunnier positions, consider catmint, compact salvia, low ornamental grasses or lamb’s ear at a well-drained front edge.
Choose only two or three companions and repeat them. The goal is a calm supporting layer, not a collection of every plant you admire.
Fewer Plants, Stronger Composition
Use Repetition to Create a Timeless Garden
Assign every plant a clear role. Hydrangeas supply the main flowering rhythm. Evergreens provide permanent shape. Perennials add lower flowers and foliage. Grasses or sedges contribute fine texture and movement.
A simple sequence might be: evergreen, hydrangea, hydrangea, evergreen, hydrangea, hydrangea, evergreen. The lower layer can move across the front in loose groups instead of matching every shrub exactly.
Choose a Plan for Your Depth
Three Beginner-Friendly Border Layouts
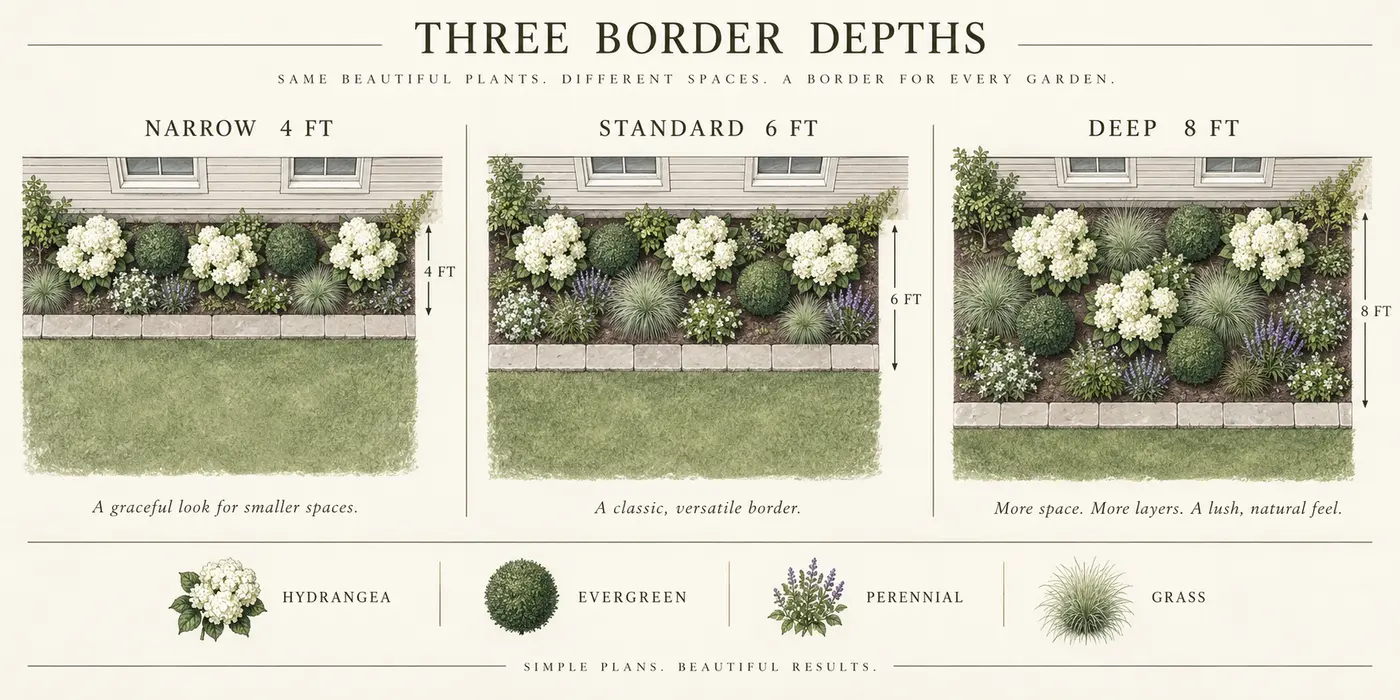
The Narrow Border
Approximately four feet deep
Use one row of compact white hydrangeas with a restrained front edge. Keep the planting simple because there is not enough depth for several rows of shrubs.
The Standard Border
Approximately six feet deep
Use medium hydrangeas as the central layer, with selected structural plants behind or between groups and a low ribbon of perennials along the front.
The Deep Border
Eight feet deep or more
Add a small tree or upright evergreens at the back, hydrangeas through the middle and broader drifts of perennials and grasses at the front.
Test the Composition
Arrange the Plants Before Digging
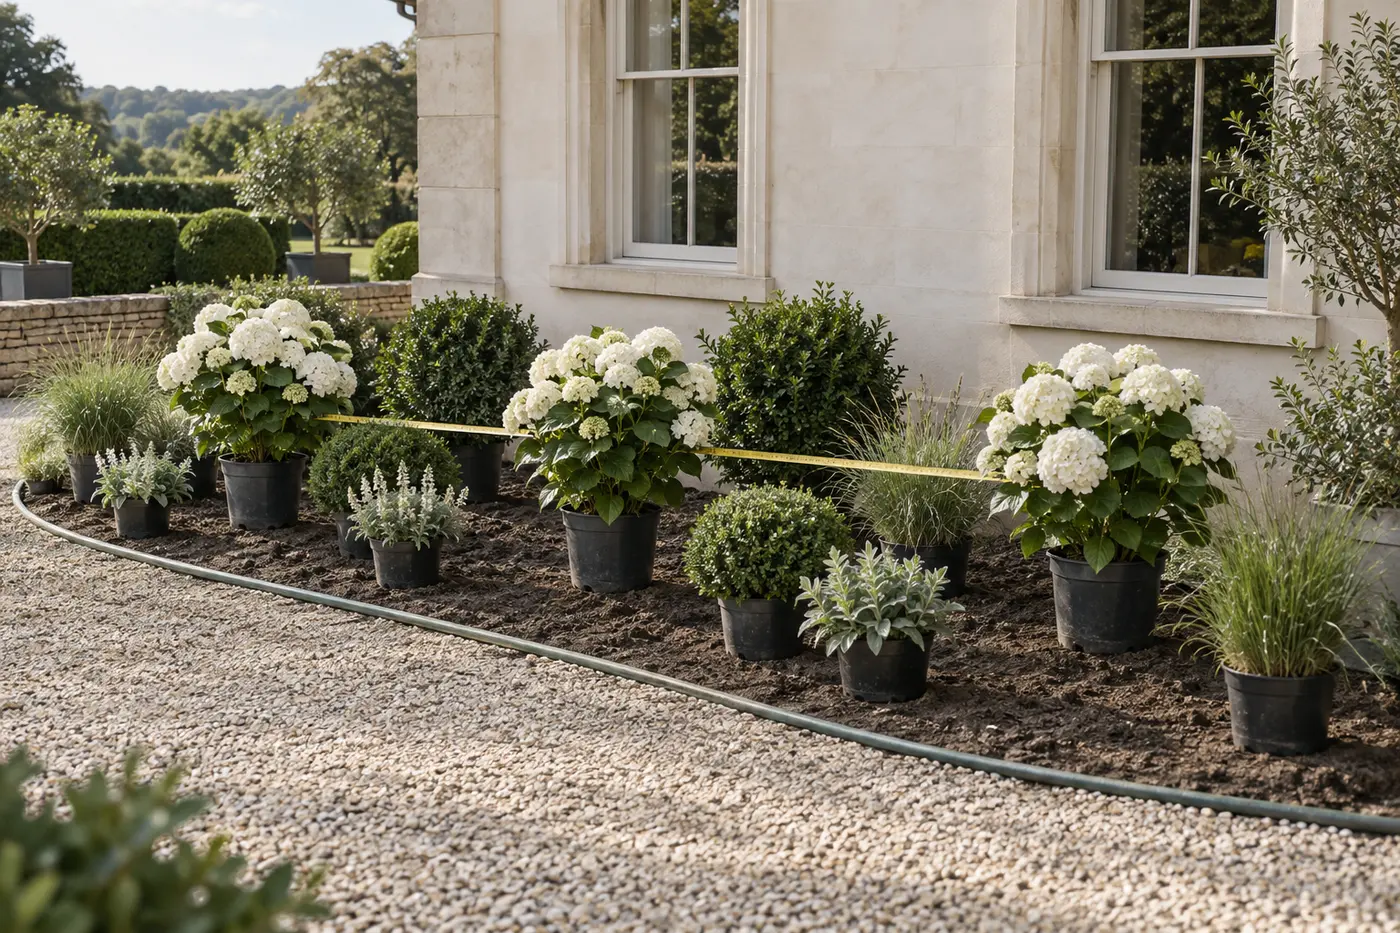
Keep every plant in its nursery pot while you test the layout. Mark the front of the bed with a garden hose, position the hydrangeas first and measure between the centre of each pot.
Add the evergreens next and place the lowest companion plants last. Step back to view the border from the street, the path and from inside the house.
Take a photograph before planting. Small spacing problems are often easier to notice in a photograph than while standing inside the bed.
A Gentle Start
Planting the Border
- Dig each hole approximately as deep as the root ball and wider than the container.
- Set the plant at the same depth it was growing in its pot.
- Backfill with the existing soil and firm it gently with your hands.
- Water deeply to settle the soil around the roots.
- Add a moderate layer of mulch, keeping it away from the stems and crown.
New hydrangeas need consistent moisture while establishing. Check the soil itself rather than relying on a fixed schedule. Hot weather, sandy soil and exposed positions will dry more quickly than sheltered borders with moisture-retentive soil.
Patience Is Part of the Plan
Design for the Third Year
A new border is not meant to look mature on planting day. Understanding the establishment period helps you resist the urge to overfill temporary gaps.
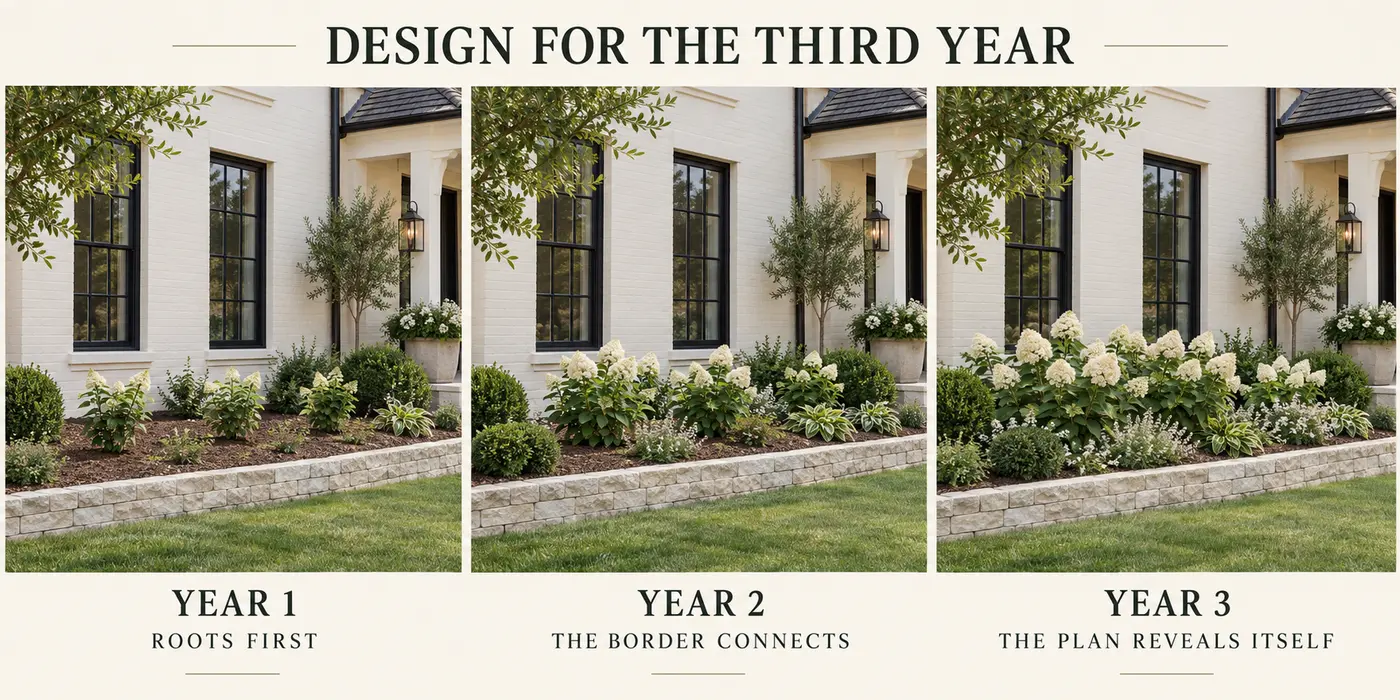
Year One
The shrubs establish roots. Mulch keeps the open areas clean and intentional.
Year Two
The hydrangeas become fuller and the underplanting begins connecting the composition.
Year Three
The planned rhythm becomes visible. Genuine gaps can now be identified and filled carefully.
Care Without Guesswork
Prune According to the Hydrangea Type
Not every hydrangea should be pruned at the same time. Smooth hydrangeas and panicle hydrangeas flower on new growth. Bigleaf and oakleaf hydrangeas generally form flower buds on older stems, so pruning at the wrong time can remove the following season’s flowers.
Keep the plant label and record the hydrangea type in a garden notebook. If you are unsure what type you have, identify it before pruning. Do not automatically cut every hydrangea back in spring.
What to Avoid
Common White Hydrangea Border Mistakes
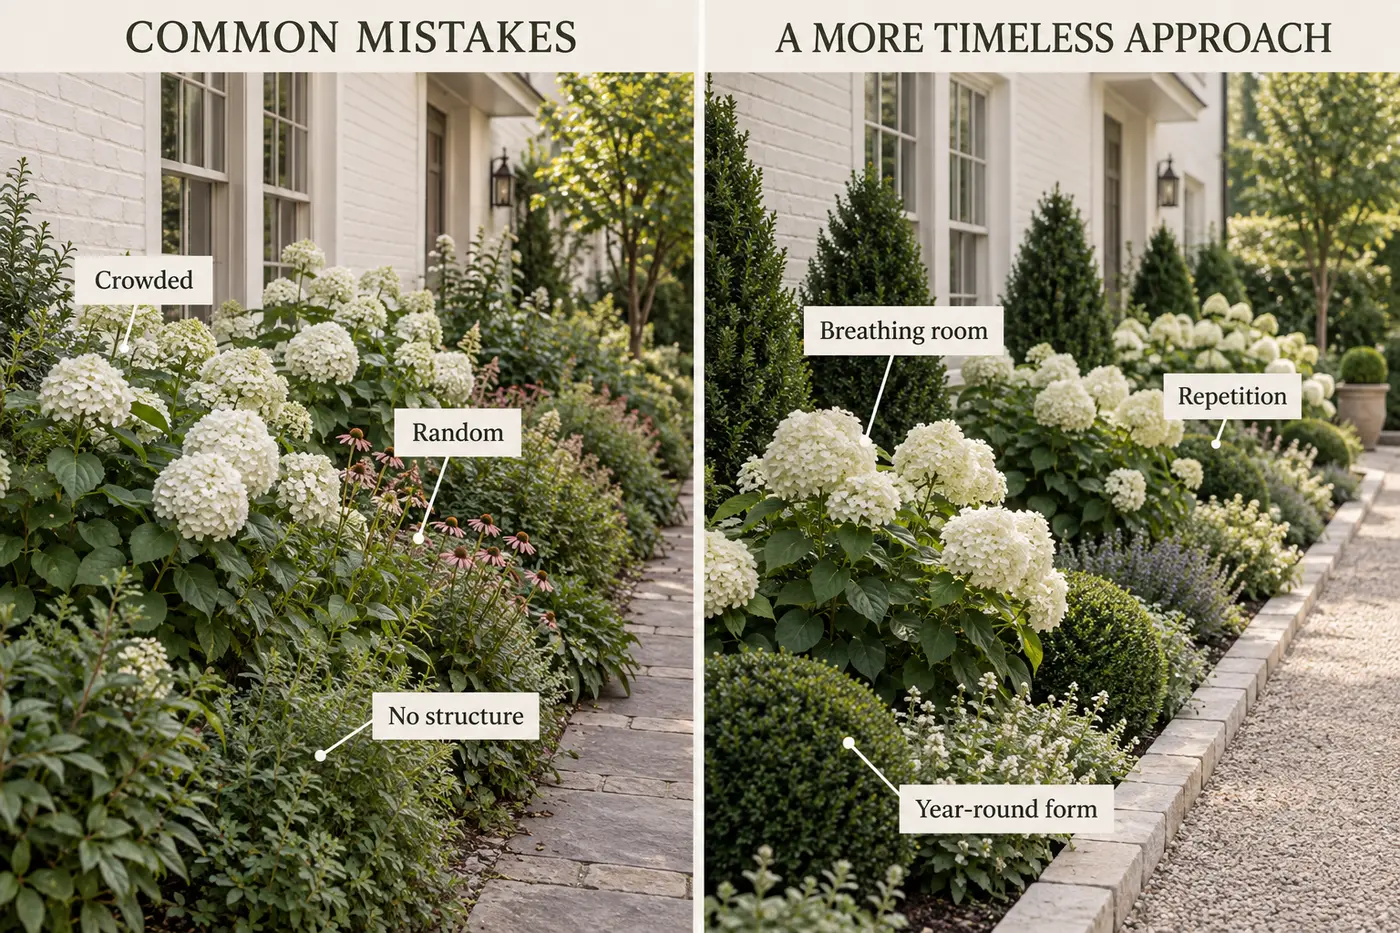
Planting Too Closely
Young shrubs are placed together for immediate impact, then lose their natural shape as they mature. Space according to the mature width instead.
Planting Too Close to the House
Branches eventually press against windows, siding and pathways. Account for the radius of the mature shrub and add maintenance room.
Choosing Too Many Varieties
Different heights and flower shapes make the border feel disconnected. Repeat one principal hydrangea and introduce variation through foliage texture.
Using One of Every Companion Plant
A collection of unrelated perennials can appear busy. Choose two or three companions and repeat them in groups.
Forgetting Winter Structure
Include a restrained framework of evergreen plants, stone edging and ornamental branches so the border remains composed after the leaves fall.
Filling Every Gap Immediately
Use mulch to make temporary spaces look intentional while the hydrangeas grow into their planned positions.
Beginner Questions
Frequently Asked Questions
How many hydrangeas do I need?
Divide the usable length of the border by the mature width of your chosen shrub, then adjust the number to leave appropriate space at both ends.
Can I mix different white hydrangeas?
Yes, but different varieties may mature at different heights, bloom at different times and require different pruning. Repeating one variety is simpler for a beginner.
Can hydrangeas be planted beneath windows?
Yes, provided the mature height remains comfortably below the sill and the shrub has enough room to spread away from the house.
Should every gap contain a perennial?
No. Visible mulch is not a design failure, particularly in a young garden. Open space improves airflow and allows plants to mature.
What if my border is only three or four feet deep?
Choose a compact hydrangea and keep the underplanting simple. Do not attempt to fit three full rows into a shallow bed.
When is the best time to plant?
Spring and fall are generally comfortable planting periods in many climates because temperatures are milder. Avoid extreme heat and adjust for your local climate.
A Beautiful Border Begins With Restraint
Give Every Plant a Purpose
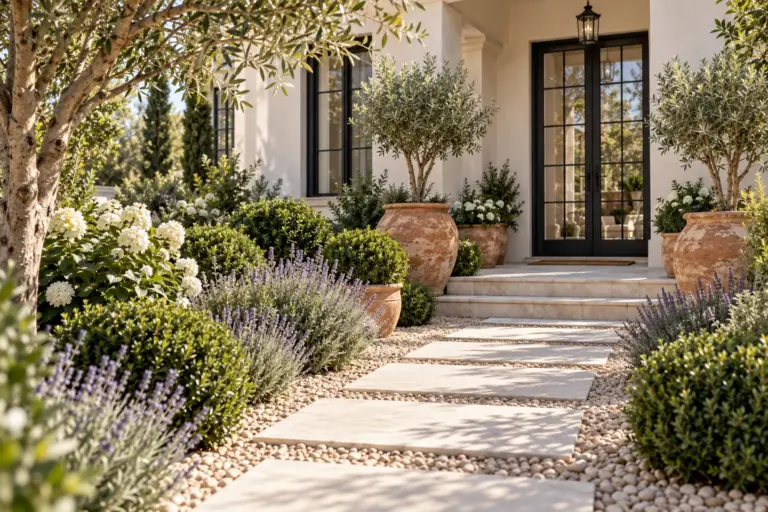
The evergreens provide structure. The hydrangeas create a flowering rhythm. The lower plants soften the edge. Limestone, gravel and open space allow the planting to breathe.
Begin with the mature size of the hydrangea, build the border in layers and resist the urge to fill every space immediately. With patience, the garden will feel generous, timeless and naturally connected to the architecture around it.
Before you go
Take the next step with a beautifully considered guide to choosing the right white hydrangea for your garden.
Thank You for Being Here
I hope this article has helped you see how thoughtful plant selection, balanced spacing and a restrained palette can create a white hydrangea border that feels generous, timeless and beautifully connected to the home. Take what speaks to you, adapt it to your own climate and space, and allow your garden to develop beautifully over time.
FROM THE JOURNAL
Recent Reads
October 7, 2026
How to Choose a Garden Colour Palette: 7 Beautiful Plant Combinations
October 6, 2026
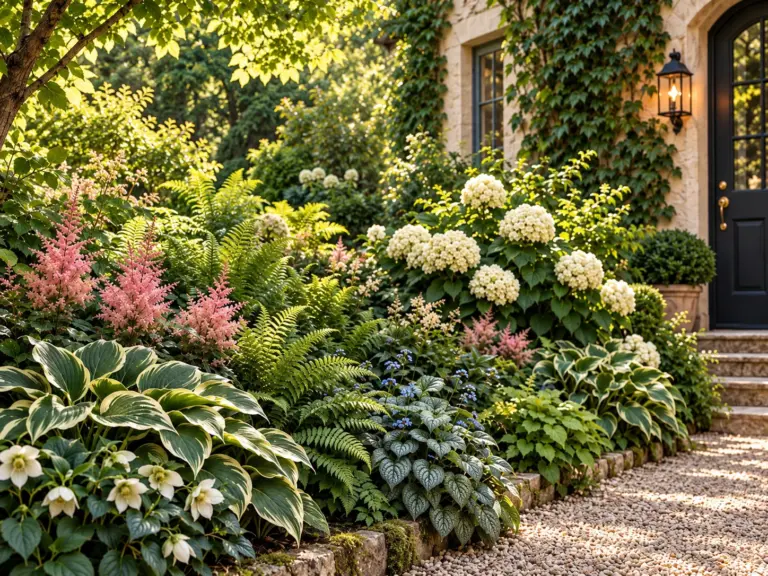
How to Design a Beautiful Shade Garden: A Simple Layering Formula
September 16, 2026
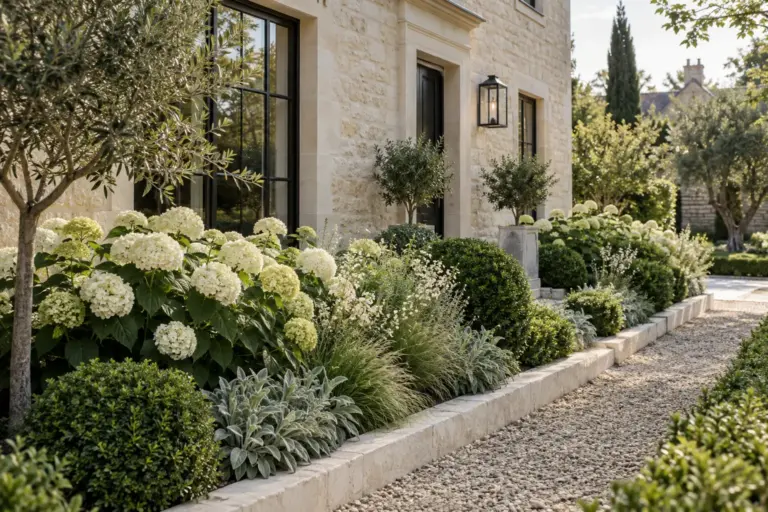
5 Beautiful Ways to Edge a Garden Border
September 12, 2026
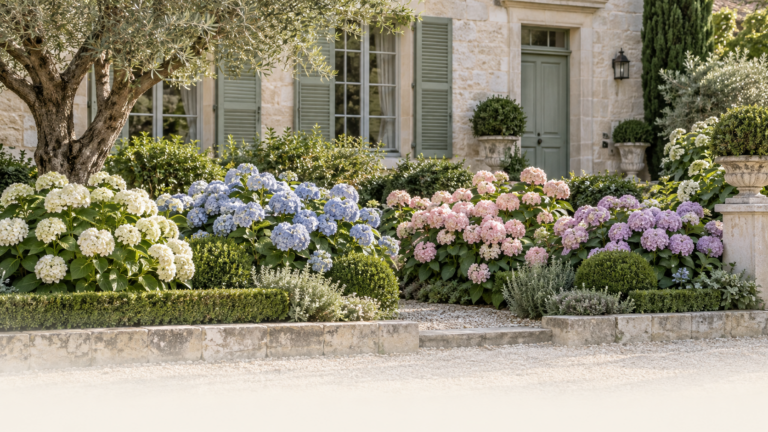
How to Choose the Right Hydrangea for Your Garden
September 10, 2026
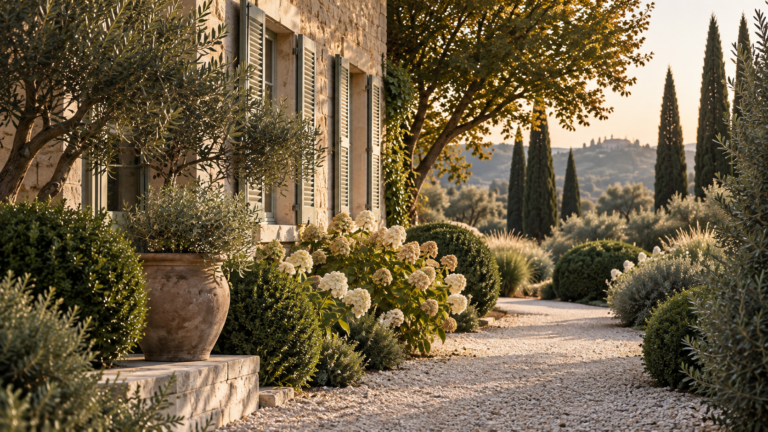
What to Plant, Prune and Notice This Season
September 10, 2026